Showing posts with label rye starter. Show all posts

Saturday, March 31, 2012

Loafing Around: Whole Wheat Sourdough

So with my wild yeast experiment underway and my first colony ripe for baking I decided to fire off my first loaf of bread!  I've been known to bake my own bread quite regularly but I've never attempted to do it with my own yeast.  Here goes nothing...

I should mention before I start that following directions is just not my forte.  I prefer to cobble together and improvise.  While this does mean that I meet with failure regularly I also feel it teaches me to troubleshoot well and think critically about what I'm doing.  So here is my cobbled together process...

I started with a recipe for authentic San Francisco Sourdough.  However, I wanted to make whole wheat bread because I can't eat white bread.  It just seems wrong to me, so I switched all of the flour to whole wheat with the exception of one cup.

Ingredients:

1 cup white flour (unbleached, all-purpose)
2 1/8 cups of whole wheat flour (I decreased it slightly because it tends to be heavier than white flour)
1 cup water
1 1/2 teaspoons of salt
1 teaspoon store bought yeast (I know!  I'll explain later!)

Directions:

1. I used my rye monster because it was the first one ready.  So, according to the recipe, I mixed a cup of flour with a cup of my monster and some water and let it sit out for 6 hours at room temperature.  At this point I had a crisis of faith (sorry wild monster) and decided to put a teaspoon of bread yeast in with my culture for good measure.  I knew the whole wheat flour would be hard for my wild yeast to raise and I didn't want to end up with a rock hard, inedible loaf.  I added the instant yeast with about half an hour to go so it had a chance to get in there and do its magic.


2. Once the culture had proofed (proven itself to be active that is), I added the rest of the ingredients.  A tip I heard recently to help disperse the salt was to add the salt to the water so it spreads throughout the loaf.  Then the fun began!  This baby needed about 25 minutes of kneading.  In retrospect I wish I had kneaded it for longer.  The dough should be soft and pliable when you are finished and frankly whole wheat flour needs a little more love than white flour.  It should be nice and stretchy.  Then it needs to rise for 10-12 hours.  Holy cow did I mention that I don't read instructions.  I had to get up at 2:30 in the freakin' morning to punch down my dough and give it a little massage.  At this point, I put it in a bamboo steaming basket for the final rise of between 2-4 hours.


3. Once it had risen for the second time, I tipped it out of the basket onto a pizza sheet, slashed it a couple times and it was ready for the oven.  I baked it at 425 degrees for 15 minutes and then turned it down to 375 for the rest of the time.  To get the oven nice and steamy, I put an empty pan in the bottom of the oven as it heated and then poured some hot water in right before throwing the loaf in.  I also threw a few tablespoons of water against the sides of the oven during the first 15 minutes.  Yeah talk about a fun early morning activity, dancing around the kitchen trying not to get steam burns.  The loaf needs to be cooked until the internal temperature reaches 190 degrees or until the bottom makes a hollow sound when tapped.  The hollow sound results from a low moisture content on the interior of the loaf and this helps keep the crust crusty.  If the loaf is too wet inside then the moisture migrates out and make the whole thing soggy.  In the future I am going to increase the bake time a bit and brush it with some kind of fat to make it brown up a bit more.


My first attempt at using the wild yeast was quite successful. I will try not to use any commercial yeast next time...

Notes:
  • It takes time to learn how to make bread.  Be patient and learn what the dough should feel like as each step progresses.
  • Slashing the top of the loaf allows the bread to expand properly as it rises.  A sharp knife works or an xacto blade.
  • Let the bread cool for at least 20 minutes before cutting it open.  I can't remember why this is important but it is.
  • I didn't find that I used enough salt so I would change the recipe to at least 2 teaspoons.  However, keep in mind that salt kills yeast so the salt shouldn't be added until all of the ingredients are being mixed together.
That's it for now!  Up next is the honey monster!

I also got some ideas from these two posts:
http://www.preparedpantry.com/easy-sourdough-bread-recipe.aspx
http://www.thenewhomemaker.com/wholewheatbread2
8TA2ZH4PFPW7

    Tuesday, March 20, 2012

    A Tale of 3 Yeasts: Days 2-10

    Well I certainly feel like I've gotten a crash course in wild yeast production.  It is amazingly easy and also challenging.  Here are my results.

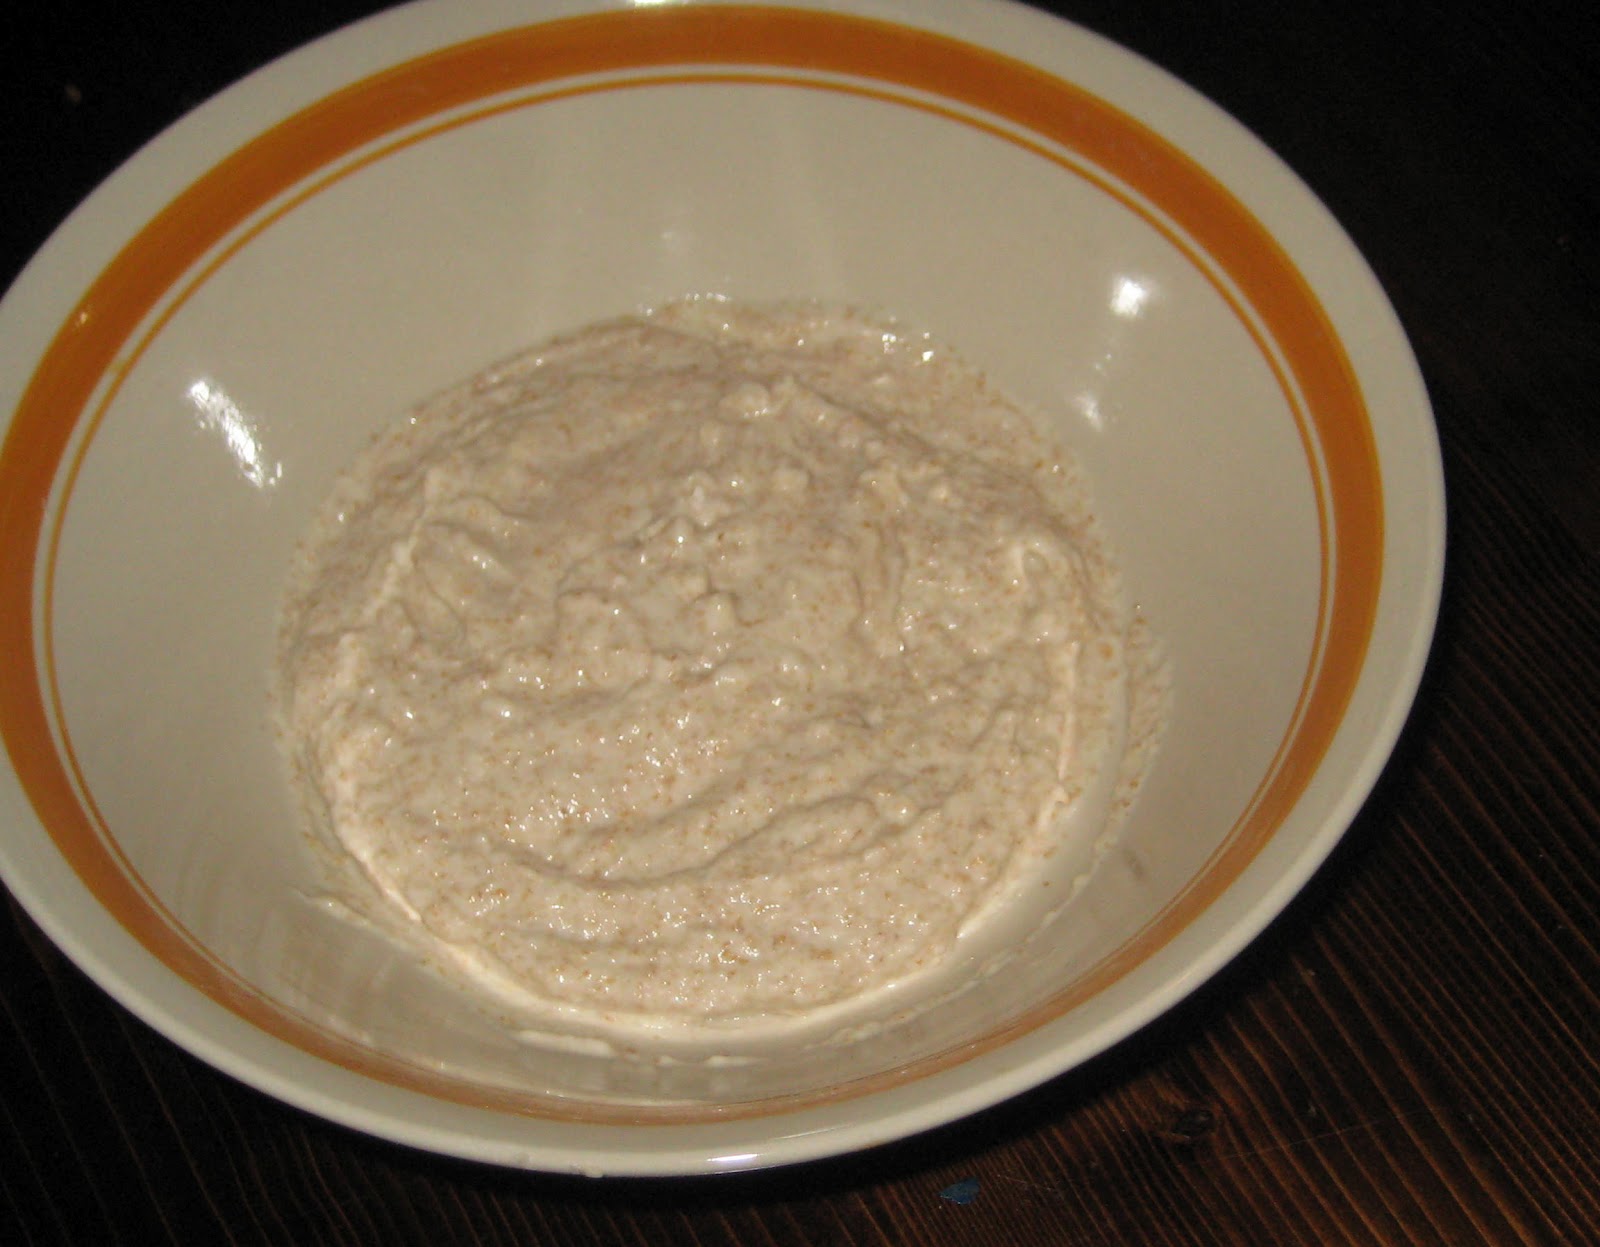
    The rye starter went well.  For those who read the original post, the flour/potato water combo seemed quite dry so I did end up adding more water.  Each day for three days I threw out half the mixture and added new flour and new water (just plain tap water).  On the fourth day I transferred the rye mixture to a clean jar and continued feeding it daily with new flour and water.  Mmmm, bubbly...


    The grape starter was a different story entirely.  After three days, the grapes were a moldy, moldy mess as pictured below.  I was on some wild yeast sites and there were varying opinions of the mold situation.  Some mentioned that a healthy yeast culture should keep mold away, some thought it should be thrown out, some thought grape starter was ridiculous because the yeast on the grapes was a different type of yeast than that used in bread making, and some said not to worry.  Not one to worry overly much about food, I soldiered on and poured the juice off the grapes, trying my best not to disturb my plentiful mold colony.  I even mixed in some flour and extra water and watched (and smelled) as it bubbled away for a day or so.  Then I threw it out.  I kept imagining newspaper headlines detailing my untimely death from my wild yeast experiment.  I need a bit more time on this earth thank you very much!


    Finally, the honey starter.  I stirred the honey starter dutifully every day for five days before moving it to a jar and starting the feeding cycle.  It smelled nice and sour.  Doesn't the picture below look delicious???


    Here are my two jars of wild yeast starter.  I am continuing the feeding cycle (once a day) and will put them in the fridge after a couple weeks so the flavours get a chance to mature.


    A few notes on the process:
    • The culture is alive so it needs to be looked after.  Think of it as your pet in a jar!  Feed it every day if it is out of the fridge and every week if it is in the fridge.
    • Your wild yeast can have a wide range of smells.  From sourdough to acetone to alcohol, the scent changes tremendously depending on where you are at in the wild yeast cycle.  My rye starter is going through an acetone phase and the scent is intense.  I am continuing to feed and nurture it in the hopes that it will soon go back to a nice sour tang.  The lesson is don't give up on your starters!  Fiddle with them and consult the wild yeast community.
    • One lady online called her yeast a "monster," which I thought was hilarious so mine are now officially called monsters.  It suits them doesn't it?
    • I wouldn't bother with grapes in the starter because I don't think they're necessary.  All you really need is flour and water and perhaps a little honey.  Keep it simple!

    Sunday, March 11, 2012

    A Tale of 3 Yeasts: Day 1

    My blog is really about getting back to the basics.  With all this talk of climate crises and overpopulation, I think it is wise to learn about food from scratch.  I started with meat, and as that journey continues, I am adding more.  Something I started thinking about the other day is bread.  What happens if I can't buy those neat little packages of instant yeast anymore?  Would that mean giving up bread and other yeast-based products?  Not on my watch.

    Enter A Tale of 3 Yeasts.  Three methods of growing wild yeast from scratch.  Which will be successful?  Which will be the tastiest?  Stay with me to find out!

    Before getting started, I thought it might be interesting to talk about yeast a little bit.  Yeast are single-celled organisms and the variety that is used in baking produces carbon dioxide - that is what makes your bread rise!  The yeast cells eat sugar to produce carbon dioxide so any wild yeast needs a sugar source to grow.

    The root of the word yeast is "gyst" in Old English and it means to boil, foam, or bubble.  Yeast is ancient and has been found in Egyptian dig sites alongside mill stones and bake ware.  How amazing that bread has been around for that long?  Its role in the modern world is no less important and it has been commercially produced in Holland since the 1700's.

    So yeast is an ancient ingredient, is it that hard to make?  I guess we'll see.  I am using three different recipes including a red grape starter, a rye flour starter, and a honey-wheat starter.  All of the recipes are simple and rely on time and warmth to grow the yeast.  The ingredients listed are the ingredients needed for the first day not the entire recipe.  Let's get started.


    1 pound of grapes

    Today all we are doing is stemming and crushing the grapes by hand.  Then they'll be covered with a piece of cheesecloth and put in a warm place for three days.  The recipe called for organic grapes but my local store didn't have any so I went for a conventionally grown purple seedless grape.  When you are picking out your grapes look for grapes with a nice white dusting on the skin - that is the start of the yeast that you will be growing.  


    1/2 cup of rye flour
    1/4 cup of potato water (water that potatoes have been boiled in and then cooled)

    Mix the rye flour and potato water together.  Again cover the bowl, but this time with a damp piece of cheesecloth and set aside for 24 hours.  The potato water is not in the recipe, but there are naturally occurring yeast cells on the skin of the potato as well as simple carbohydrates that act as a sugar source so that is why I decided to use it instead of spring water.  This was really not very moist so I am interested to see how it turns out.


    1/2 tsp honey (unpasteurized I would guess)
    1/2 cup whole wheat flour
    1/2 cup potato water (same as in the previous recipe)


    Mix all of the ingredients together in a ceramic bowl and again cover and place in a warm spot.  This will need to be stirred twice a day for five days and then we will check back on it.  For the same reasons outlined in the Rye Flour Starter, I chose to use potato water.

    Each of these starters is going to be ready at a different time.  The recipes range from 5 to 9 days.  As each starter is ready, I will make a loaf of sourdough bread to see which recipe gives me the best result.  

    This is going to be one tasty experiment!

    References:

    http://en.wikipedia.org/wiki/Yeast