Showing posts with label baking. Show all posts

Tuesday, September 18, 2012

My Award Winning Sour Cherry and Dark Chocolate Pie

Yeah.  Uh-huh.  I placed first in my category!  I can officially say that I have an award winning pie recipe!  But before I get to the recipe, let me explain my process.

The night before, I blind baked my pie crust.  To blind bake is to bake an empty pie shell.  I like to use parchment with mung beans on top to weigh my pie crust down.  This time, I also decided to shroud my crust in tin foil so it didn't get too brown.  It worked perfectly.  In the past I have tried using a pastry shield but I find that because the pastry shield sits on the crust it actually makes it brown more and faster.  Has anyone else found this?

As well, the night before, I made my sour cherry filling.  I mentioned in an earlier post that I had purchased, roasted and frozen some sour cherries.  To make the filling, I thawed the cherries, cooked them a bit on the stove top just for good measure and then added sugar and Instant ClearJel (see recipe later).  Instant ClearJel is pre-cooked corn starch that thickens acidic fruit without needing heat.  My test pie failed because the thickener I used couldn't handle the acid in the cherries and basically turned my pie into a sopping wet disaster.  This was not going to happen with my sour cherries.

With my filling and crust ready to go, all that was left in the morning was making the ganache.  I gave myself two and a half hours to make ganache and paint it on the crust.  It took me about fifteen minutes.  Yeah, I'm a bit anal about time management.

Then into the car I went.  Normally I am a hard core cyclist.  I don't even own a car in fact.  The competition was in Langley though and I was not going to cycle or skytrain out to Langley with my precious pie.  The heat would kill it!  So I found a car (thank you Grandmummy), loaded up the painted crust and the cherry filling, turned the air conditioner on full blast and made my way out to the Langley Bypass.  As I drove, with chattering teeth and goose bumps from the car's chilly air, I reflected on what I was willing to do for this pie:

1. Use chemicals.  I don't think they used Instant ClearJel to thicken up their pies in the old days.
2. Drive.  I hate the car, especially spending an hour on the highway.
3. Air condition myself.  Just the term air condition freaks me out, but hey, what the pie needs, the pie gets.

Once I arrived at the competition, I assembled my pie in the car.  I waited until then because I didn't want to risk a soggy crust.  While the chocolate ganache was there to protect the crust, I still didn't want to take any chances so I waited until just before dropping it off to spoon the cherry filling in.  Then, like an anxious mother, I hustled my little pie into its special room where it sat with all the other pies, waiting for judgement.

The verdict: And I won!  Yeah, cherries and chocolate are pretty good and it looked so pretty, though you'll just have to imagine what it looked like because in my anxiety I totally forgot to take a picture...  Sorry about that.  Ironically, I'm not really sure what it tasted like.  I only bought enough sour cherries for one pie so I am going to have to wait until next summer to make another one.  I just love the patience in seasonal fruit.


Ingredients

Pastry crust
Cherry Filling

  • 4 cups sour cherry
  • Pinch of salt and pepper
  • 1 tbsp of peanut oil
  •  ¾ cup white sugar
  • 10 tsp instant ClearJel


Chocolate Ganache
  • 100 grams of 70% dark chocolate, chopped finely
  • 1/3 cup whipping cream


Directions


Pastry
1. Cut together flour and butter, add liquid ingredients, chill for 30 minutes minimum or up to 24 hours.  Roll out thinly, pat into pie pan and crimp edges nicely.  Wrap and freeze shell overnight.
2. Preheat oven to 425 degrees Fahrenheit, line shell with parchment and pie weights and put in the bottom third of the oven and turn the temperature down to 400 degrees for 20 minutes.  Pull the shell out, remove the parchment and weights and put back into the oven until golden brown, approximately 10 minutes.
3. Sprinkle baked shell with almond flour.

Cherry Filling
1. Coat sour cherries with oil, salt and pepper.  Bake at 350 degrees for approximately an hour or until the cherries split.  Let cool.
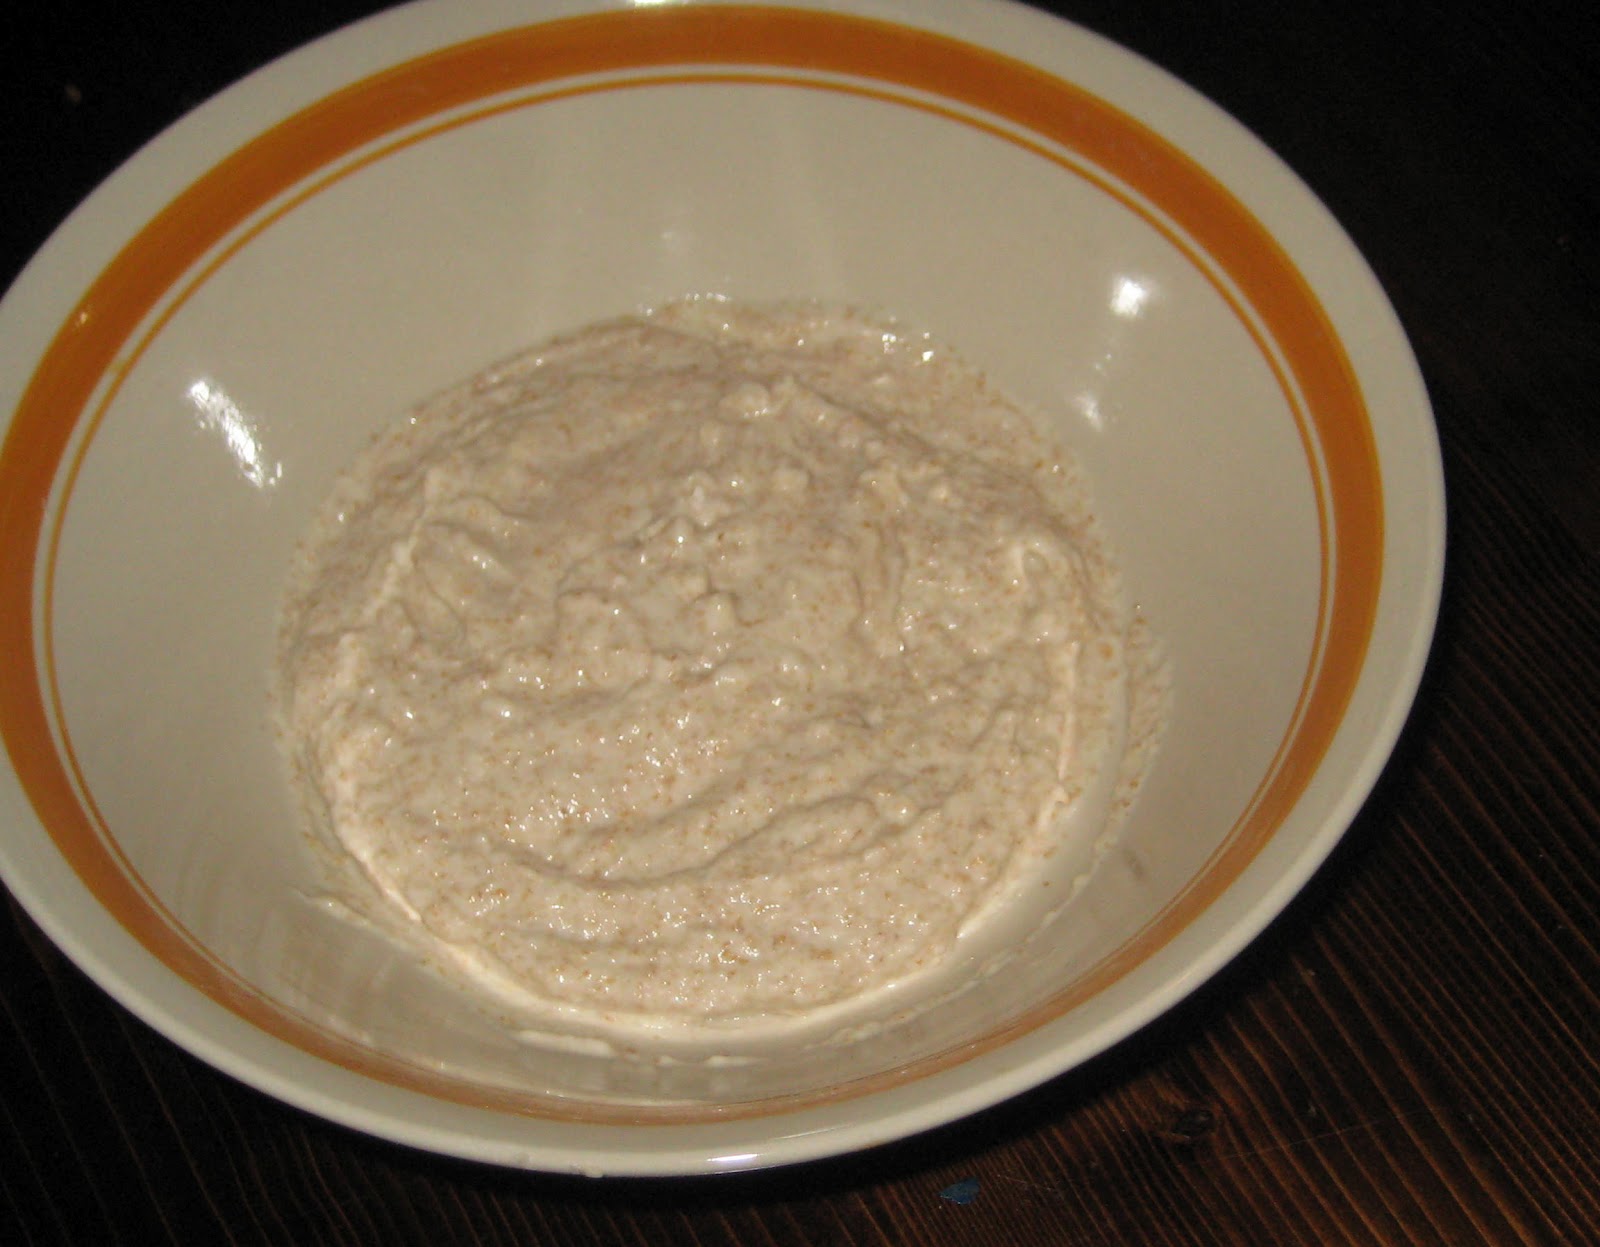
2. Add ClearJel to sugar and mix well.  Stir into cooled cherries and stir to combine well.  Thickens up in approximately 5-10 minutes.  Chill in the fridge.

Chocolate Ganache
1. Put whipping cream in a saucepan and warm at medium-low heat until small bubbles form at the edges. 
2. Pour half of the cream over the finely chopped chocolate and let sit for 30 seconds.  Whisk gently as chocolate melts.  Once almost smooth add the rest of the warm whipping cream and stir to combine.

To Assemble

1. Paint the warm chocolate ganache on the baked pie shell.  Make sure to spread the chocolate over the entire base of the shell and up the edges.  Let chill in the fridge until the ganache hardens. Approximately an hour before serving put the chilled cherry filling in the chocolate-filled shell and allow to come to room temperature.


Notes

  • Instant ClearJel needs to be added to the sugar before being added to a liquid to prevent clumping.  If you find the fruit mixture too sweet after doing this you can use a little bit of balsamic vinegar to balance it out.
  • I highly recommend checking out BBQ on the Bypass.  There is tons of free BBQ sampling and for people who love to BBQ you get a great opportunity to check out BBQ set-ups and chat with people who BBQ a lot.
  • I am going to add a new pastry recipe soon because I am actually not super happy with the one I am using.  I think using egg makes it too crispy so look out for that.
  • This is actually a great pie for entertaining because the majority of the work is done the day before.  
  • I saw this dog wearing sunglasses and I needed a picture.  Isn't that the cutest thing you've ever seen?
----

Shonagh explores the guts of food in An Offal Experiment.

Sunday, September 9, 2012

Shonagh vs. Fruitcake: Day 1

So I decided to take on fruitcake.  Why I don't remember.  I think it came up in some sort of search, perhaps I was looking up preserved fruit or apricot cake.  Either way, I have decided to become the queen of fruitcake.  It is my new Christmas tradition or should I say, it will become my new Christmas tradition.

I am a little obsessed with tradition, how it orients our lives, creating rhythms and familiarity, a cycle.  Often we think of traditions as old-fashioned, and they can be, associated with grandparents and parents.  However, it is entirely possible and quite joyful to start new traditions.  I already have one Christmas tradition - my Christmas Eve Brunch and now it has a companion - Gingery Fruitcake.


When I came upon my first fruitcake recipe it made me think.  What is the purpose of fruitcake?  So many malign it terribly, but somehow it has clung on.  As I pondered the purpose of fruitcake, surrounded by fresh fruit I had brought home from the Farmer's Market, it hit me!  The purpose of fruitcake is to capture summer!  This fruit-filled cake exists to ease the chill of winter and to keep people going until spring.  So with this purpose in mind, I decided to radically redesign my fruitcake turning it into the height of fantastic deliciousness.

Creating a fruitcake is a process and the process should begin the day before you actually bake it.  The first steps are drying the fruits you want to use and candying your ginger.  I chose a ginger fruitcake because ginger is one of my favorite things in the world and in my opinion makes almost everything better.

Fruit Directions

1) I selected apricots and cherries for the fruit portion of my cake.  They came from a local shop.  I quartered the apricots and halved the cherries, putting them on baking sheets at 200 F.  If you have a dehydrator then use that, but don't suck all the moisture out.  They should be dry but not dry to the bone.  You want some plumpness in your fruit still.  This took most of the first day, over night and a bit more time in the morning.  I turned the oven on for several hours, turned it off over night but kept the fruit in the oven, turned it back on for an hour in the morning and then turned it off again leaving the fruit in the oven for another five hours or so.  I snipped the apricot quarters in half again once they were dry.

Ginger Directions

1) I love candied ginger.  This is a really easy way to do it and leaves a beautiful texture to the root.  Peel your ginger bulbs and then cube the ginger.  The easiest way to cut ginger is to cut lengthwise first (with the fibres) and then against the fibres.  If you are finding that your ginger is really stringy then it might be a touch too old.

2) Add your cubed ginger to a heavy pot with two cups of sugar and two cups of water.  Turn the heat on to medium and let the whole mess simmer for two hours or until the ginger is at a nice level of softness.  The liquid should be reduced by half.  Pour everything through a strainer, reserving the syrup.  Dust your candied ginger with sugar and let cool.  At this point you really should treat yourself to a little spoonful of the ginger syrup.  Watch out though it will blow your socks off!  Spicy and fantastic!


You are now ready to make the fruitcake itself but that is being saved for another post.  Check back in a few days for the next stage of glorious ginger fruitcake.

Do you love fruitcake?  Have you ever met a fruitcake that you didn't like?  What is your take on those green candied things that try to pass themselves off as fruit?

----

Shonagh explores the guts of food in An Offal Experiment.

Thursday, July 26, 2012

Rendering Suet aka Makin' Lard

Suffice to say that I have a greater understanding of the scent of a medieval household after my first experience rendering suet.

I've been reading The Great Mortality by John Kelly, a riveting account of the black plague and how it wound its way through Europe in the 14th century.  Needless to say a key ingredient in its spread was the incredible filth of households in this period.  People bathed rarely and garbage (think dead animals, toilet offerings, rotten food) was strewn about the streets.  They also used lard or tallow in making candles.  According to Kelly, lard wasn't a preferred source of fuel because of the smell.

So let me get this straight.  People who were surrounded by rotting flesh and human excrement complained about the smell of burning lard.  How could this be?

Let me tell you.  It is a penetrating and murky smell.  Those familiar with the smell of their house after a deep fry session will have some idea, but rendering lard is worse.  It lacks the richness of cooking meat and the purity of cooking with vegetable oil.  It just smells heavy, and not in a good way.

I would like to think that I have a fairly strong stomach.  I mean I did saw open a sheep's head after all.  Despite the strength of my stomach, I will probably never render suet again.  But what inspired me to bother in the first place?  It was the pie competition.

According to the Joy of Cooking lard makes a "very tender crust (that) is best reserved for covered fruit pies" (p. 862).  Did I want a "very tender crust" and was I making a fruit pie?  Yes on both accounts.  I was sure that using lard would give me an upper hand on my competition.  With this in mind, I trotted to my butchers. 

Lo and behold they had bags of frozen suet, ground up and ready to go.  Luckily one of the butchers told me that I would need to render it before I used it for my pie.  Armed with this information and clutching my little bag of ground fat, I trot home, sure that I was about to have a pastry breakthrough.

Before getting started I decide to do a little research.  There is a wet method and a dry method of rendering fat.  The dry method is used during normal cooking - think of frying bacon and then using the wonderful extra fat to fry your eggs.  The wet method involves throwing, in my case, a big chunk of suet into a pot with water and letting it cook on low for hours.  As it cooks the fat melts out and can be poured off through a strainer. 

I didn't use a lot of water so the water had evaporated before I poured the fat off.  If you are using a lot of water then the fat can be skimmed off the top.  As this fat and water-filled mixture steams and bubbles away for hours your house will be filled with its distinctive odour.  I highly recommend closing all doors to bedrooms to prevent the smell from making friends with your clothing.

The rendered lard is quite beautiful, lily white and pure.  Its hard to believe that it came from a murky, flesh-colored pot of melting suet.  Once the process was complete (well to be honest, once I had rendered enough lard) I took my hot pot of suet off the stovetop and thanked the spirits that the process was over.

To ready myself for the pastry-making process (this was for my second test pie - the disastrous one) I froze the lard.  I grated the frozen lard into my flour, using butter for half the fat, finished my pastry, filled the pie and waited for ecstasy.  The pie was a disaster because I was experimenting (a combination of different recipes and my imagination) and miscalculated the cooking time.  Once my pie had "cooled" I realized that it wasn't hardening and in fact I had made strawberry soup pie.  Luckily I was still able to taste the lard-filled pastry on top.

The Verdict

It tastes like beef.  The texture was nice but the beefiness came through so strongly that it overpowered the delicate fruitiness of the filling.  Mmm strawberry-beef fat pie...  No, not so tasty.  It might work for a beef pie but even then I question the flavour the lard gave the pastry.  Some would call it the essence of being not tasty.  I have since read up more on lard and possibly, possibly will try pork fat in the future.  Emphasis on the possibly because I don't really want pork fat perfume wafting its way through my house.

Back to pure butter pastry for me!  I would love to hear if others use lard in their pastry?  Do you render it yourself or do you buy it from the butcher?  Do you use pork or beef?  Share your pastry and lard experiences.

----

Shonagh explores the guts of food in An Offal Experiment

Saturday, March 31, 2012

Loafing Around: Whole Wheat Sourdough

So with my wild yeast experiment underway and my first colony ripe for baking I decided to fire off my first loaf of bread!  I've been known to bake my own bread quite regularly but I've never attempted to do it with my own yeast.  Here goes nothing...

I should mention before I start that following directions is just not my forte.  I prefer to cobble together and improvise.  While this does mean that I meet with failure regularly I also feel it teaches me to troubleshoot well and think critically about what I'm doing.  So here is my cobbled together process...

I started with a recipe for authentic San Francisco Sourdough.  However, I wanted to make whole wheat bread because I can't eat white bread.  It just seems wrong to me, so I switched all of the flour to whole wheat with the exception of one cup.

Ingredients:

1 cup white flour (unbleached, all-purpose)
2 1/8 cups of whole wheat flour (I decreased it slightly because it tends to be heavier than white flour)
1 cup water
1 1/2 teaspoons of salt
1 teaspoon store bought yeast (I know!  I'll explain later!)

Directions:

1. I used my rye monster because it was the first one ready.  So, according to the recipe, I mixed a cup of flour with a cup of my monster and some water and let it sit out for 6 hours at room temperature.  At this point I had a crisis of faith (sorry wild monster) and decided to put a teaspoon of bread yeast in with my culture for good measure.  I knew the whole wheat flour would be hard for my wild yeast to raise and I didn't want to end up with a rock hard, inedible loaf.  I added the instant yeast with about half an hour to go so it had a chance to get in there and do its magic.


2. Once the culture had proofed (proven itself to be active that is), I added the rest of the ingredients.  A tip I heard recently to help disperse the salt was to add the salt to the water so it spreads throughout the loaf.  Then the fun began!  This baby needed about 25 minutes of kneading.  In retrospect I wish I had kneaded it for longer.  The dough should be soft and pliable when you are finished and frankly whole wheat flour needs a little more love than white flour.  It should be nice and stretchy.  Then it needs to rise for 10-12 hours.  Holy cow did I mention that I don't read instructions.  I had to get up at 2:30 in the freakin' morning to punch down my dough and give it a little massage.  At this point, I put it in a bamboo steaming basket for the final rise of between 2-4 hours.


3. Once it had risen for the second time, I tipped it out of the basket onto a pizza sheet, slashed it a couple times and it was ready for the oven.  I baked it at 425 degrees for 15 minutes and then turned it down to 375 for the rest of the time.  To get the oven nice and steamy, I put an empty pan in the bottom of the oven as it heated and then poured some hot water in right before throwing the loaf in.  I also threw a few tablespoons of water against the sides of the oven during the first 15 minutes.  Yeah talk about a fun early morning activity, dancing around the kitchen trying not to get steam burns.  The loaf needs to be cooked until the internal temperature reaches 190 degrees or until the bottom makes a hollow sound when tapped.  The hollow sound results from a low moisture content on the interior of the loaf and this helps keep the crust crusty.  If the loaf is too wet inside then the moisture migrates out and make the whole thing soggy.  In the future I am going to increase the bake time a bit and brush it with some kind of fat to make it brown up a bit more.


My first attempt at using the wild yeast was quite successful. I will try not to use any commercial yeast next time...

Notes:
  • It takes time to learn how to make bread.  Be patient and learn what the dough should feel like as each step progresses.
  • Slashing the top of the loaf allows the bread to expand properly as it rises.  A sharp knife works or an xacto blade.
  • Let the bread cool for at least 20 minutes before cutting it open.  I can't remember why this is important but it is.
  • I didn't find that I used enough salt so I would change the recipe to at least 2 teaspoons.  However, keep in mind that salt kills yeast so the salt shouldn't be added until all of the ingredients are being mixed together.
That's it for now!  Up next is the honey monster!

I also got some ideas from these two posts:
http://www.preparedpantry.com/easy-sourdough-bread-recipe.aspx
http://www.thenewhomemaker.com/wholewheatbread2
8TA2ZH4PFPW7

    Sunday, March 11, 2012

    A Tale of 3 Yeasts: Day 1

    My blog is really about getting back to the basics.  With all this talk of climate crises and overpopulation, I think it is wise to learn about food from scratch.  I started with meat, and as that journey continues, I am adding more.  Something I started thinking about the other day is bread.  What happens if I can't buy those neat little packages of instant yeast anymore?  Would that mean giving up bread and other yeast-based products?  Not on my watch.

    Enter A Tale of 3 Yeasts.  Three methods of growing wild yeast from scratch.  Which will be successful?  Which will be the tastiest?  Stay with me to find out!

    Before getting started, I thought it might be interesting to talk about yeast a little bit.  Yeast are single-celled organisms and the variety that is used in baking produces carbon dioxide - that is what makes your bread rise!  The yeast cells eat sugar to produce carbon dioxide so any wild yeast needs a sugar source to grow.

    The root of the word yeast is "gyst" in Old English and it means to boil, foam, or bubble.  Yeast is ancient and has been found in Egyptian dig sites alongside mill stones and bake ware.  How amazing that bread has been around for that long?  Its role in the modern world is no less important and it has been commercially produced in Holland since the 1700's.

    So yeast is an ancient ingredient, is it that hard to make?  I guess we'll see.  I am using three different recipes including a red grape starter, a rye flour starter, and a honey-wheat starter.  All of the recipes are simple and rely on time and warmth to grow the yeast.  The ingredients listed are the ingredients needed for the first day not the entire recipe.  Let's get started.


    1 pound of grapes

    Today all we are doing is stemming and crushing the grapes by hand.  Then they'll be covered with a piece of cheesecloth and put in a warm place for three days.  The recipe called for organic grapes but my local store didn't have any so I went for a conventionally grown purple seedless grape.  When you are picking out your grapes look for grapes with a nice white dusting on the skin - that is the start of the yeast that you will be growing.  


    1/2 cup of rye flour
    1/4 cup of potato water (water that potatoes have been boiled in and then cooled)

    Mix the rye flour and potato water together.  Again cover the bowl, but this time with a damp piece of cheesecloth and set aside for 24 hours.  The potato water is not in the recipe, but there are naturally occurring yeast cells on the skin of the potato as well as simple carbohydrates that act as a sugar source so that is why I decided to use it instead of spring water.  This was really not very moist so I am interested to see how it turns out.


    1/2 tsp honey (unpasteurized I would guess)
    1/2 cup whole wheat flour
    1/2 cup potato water (same as in the previous recipe)


    Mix all of the ingredients together in a ceramic bowl and again cover and place in a warm spot.  This will need to be stirred twice a day for five days and then we will check back on it.  For the same reasons outlined in the Rye Flour Starter, I chose to use potato water.

    Each of these starters is going to be ready at a different time.  The recipes range from 5 to 9 days.  As each starter is ready, I will make a loaf of sourdough bread to see which recipe gives me the best result.  

    This is going to be one tasty experiment!

    References:

    http://en.wikipedia.org/wiki/Yeast